The SpringSource dm Server uses the JAVA_HOME environment variable to locate the java
executable. Configure this environment variable to point to the home directory of the Java 5 or Java 6 installation on your computer.
As a convenience it is recommended that you create an environment variable that points
to the SpringSource dm Server installation directory. Note that the SpringSource dm Server does not require that
such an environment variable has been set. This variable may have any name of your
choosing. The SpringSource dm Server’s documentation assumes that the variable is named
SERVER_HOME.
Edit the .profile file in your home directory to
add the SERVER_HOME and JAVA_HOME environment variables. For
example, if you installed into /opt:
export SERVER_HOME=/opt/springsource-dm-server-2.0.5.RELEASE/
export JAVA_HOME=/user/java/jdk1.6.0_17
export PATH=$JAVA_HOME/bin:$PATH
This section shows how to add SERVER_HOME as a system variable on Windows. Follow the same procedure to add or update the JAVA_HOME environment variable.
From the Start menu, open the Control Panel and double-click on ‘System’.
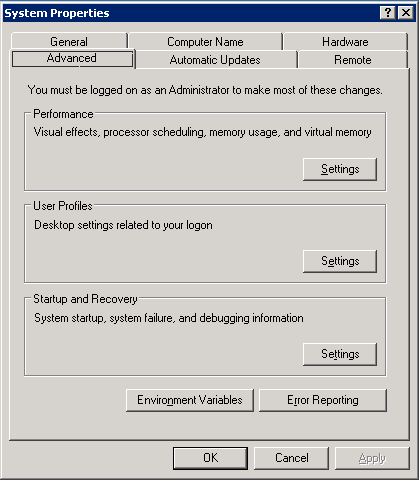
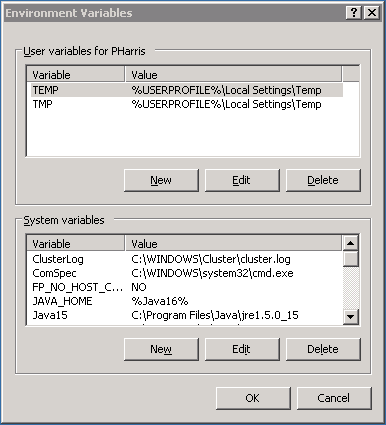
Click the ‘Advanced’ tab and select ‘Environment Variables’. Next, click the ‘Edit’ button in the ‘System Variables’ section.
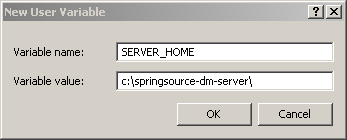
This will display the ‘Edit System Variable’ window. Enter
SERVER_HOME as the ‘Variable name’ and
the installation directory as the ‘Variable value’. Click OK.
When starting the SpringSource dm Server on some variants of Windows you might encounter a problem with file permissions. The error looks like this.
C:\dev\springsource-dm-server-2.0.0.BUILD-20091208094124>bin\startup.bat
Error: Exception thrown by the agent : java.io.FileNotFoundException: C:\dev\...\config\
		com.springsource.kernel.jmxremote.access.properties (Access is denied)
If the dm Server starts at this point you can skip this section and carry on. Otherwise, go to the ‘config’ directory of your install in Windows Explorer and you will be able to confirm the problem, an incorrect file ownership.
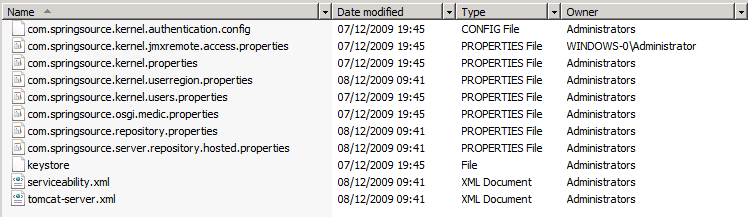
Right click on the ‘com.springsource.kernel.jmxremote.access.properties’ file and view its properties, then select the ‘Security’ tab.
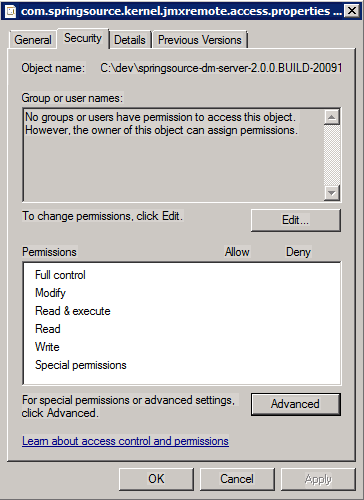
Within the security page select the ‘Advanced’ options, view the owners and then select ‘Edit’. From the list select the owner that you are trying to run the dm Server as.
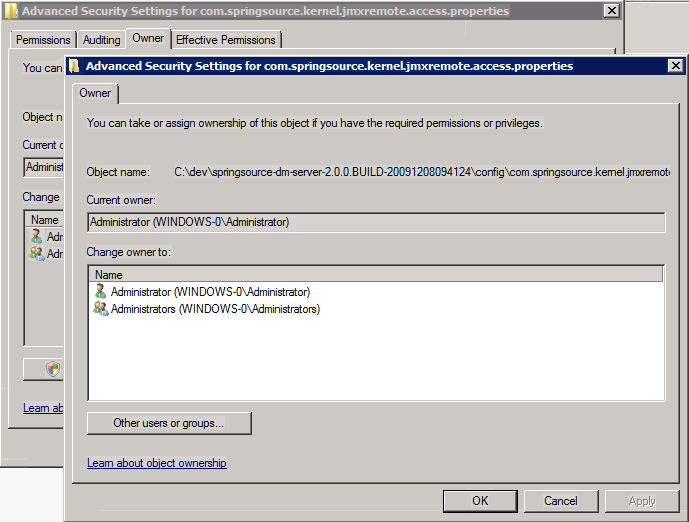
Once this is done select ‘OK’ and then ‘OK’ again to return to the ‘Security’ tab and now select ‘Edit’ on the list of groups and users that have permission to edit the file.
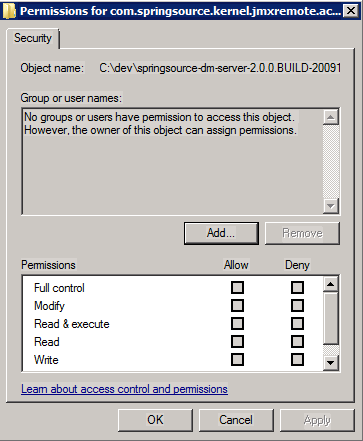
It is likely this list will be empty to start with. Select ‘Add’ and give it the same name you selected from the list before. Clicking ‘Check Names’ will ensure you have entered an acceptable name.

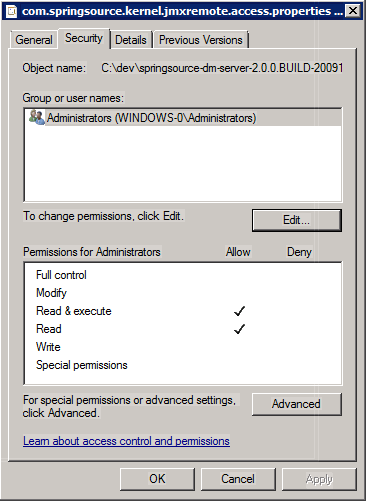
Finally select ‘OK’ and then ‘Apply’ to apply the new setting and you will be back on the security tab and be able to see the new settings.
Once all these steps are complete you can proceed to start the dm Server.
C:\dev\springsource-dm-server-2.0.0.BUILD-20091208094124>bin\tstartup.bat
[2009-12-08 13:09:09.545] startup-tracker              <KE0001I> Kernel starting.